How Does Polyethylene Get Its Color?
Ever wondered how colored polyethylene is made? It all comes down to adding pigments to the plastic. But here’s the kicker—polyethylene itself never actually changes color; it stays its original translucent white. The color you see comes from tiny particles of pigment suspended between the polyethylene molecules. Picture this: it’s like having tiny pebbles floating in a block of ice. When light hits your product, it bounces off these pigment particles, creating the vibrant color we see. The secret to a rich, even color lies in how well these pigments are spread out. The smaller the pigment particles, the more stunning the color. And guess what? The way you mix the pigments plays a huge role in this.
What Are the Best Ways to Mix Pigments with Polyethylene?
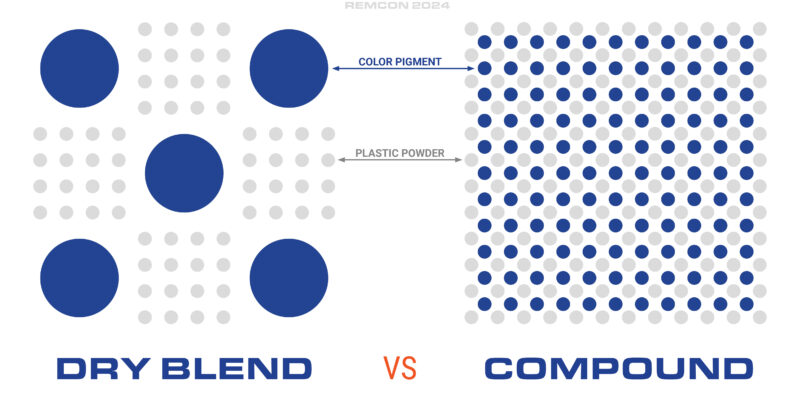
When you’re working with polyethylene for rotational molding, both the polyethylene and the pigments are usually in powder form. You have a few options for mixing them together. On the lower end, there’s paddle or ribbon mixing—affordable but basic. In the middle, you have high-intensity dry blending. And if you’re looking to go all out, there’s melt compounding, which is the premium option. As you move up the ladder from basic to premium, the pigment particles get smaller and spread more evenly, which means better-looking color and a product that retains its impact strength. This is important because adding pigments can sometimes weaken the plastic if not done correctly.
How Does Sunlight Affect Polyethylene Colors?
If your product is going to spend a lot of time outdoors, you’ll need to think about how sunlight will affect its color. This is where a lot of people make a mistake: they assume that if the base polyethylene has a good UV rating, it’ll also protect the pigment from fading. Not so! The UV additives in polyethylene are there to slow down the material’s degradation, not to protect the color. If you want that vibrant color to last, the pigment itself needs to be “light-stabilized.” So, be sure to let your pigment supplier know if your product will be out in the sun a lot—they can help you pick the right pigments.
How Is Color Added in Other Plastics Manufacturing Processes?
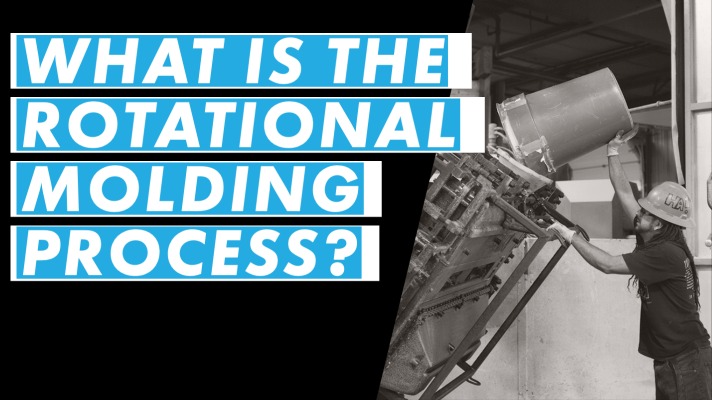
In processes like injection molding, blow molding, and extrusion, the material is melted in a heated barrel and then forced into the mold by a screw. The color is added into that barrel and mixed by the screw. Because there’s usually enough material in the barrel to make several products at once, changing colors means removing the old color, cleaning the barrel and screw, and then introducing the new color. It’s a bit of a hassle, which is why these molders prefer longer runs of each color before making a switch. But with rotational molding, it’s a different story. You put the dry material and pigment directly into the mold, which is then heated in an oven. Only the material inside the mold melts, so you can change colors with just a quick clean of the mold between runs. This makes it super easy to do small color batches without much downtime.


