For those outside the traffic control industry, the various types of temporary traffic control devices used in work zones are often a mystery. In this article, we break down the two primary categories: barriers and barricades, explaining their distinct roles in keeping work zones safe.
Understanding Traffic Barriers
Barriers are essential for protecting road workers by physically separating them from oncoming traffic. These robust devices, like the commonly seen concrete Jersey Barriers or steel-reinforced plastic barriers, are designed to redirect vehicles away from the work area. A key feature of these barriers is their ability to withstand impacts without allowing vehicles to break through the line, thus ensuring worker safety.
What Are Barricades?
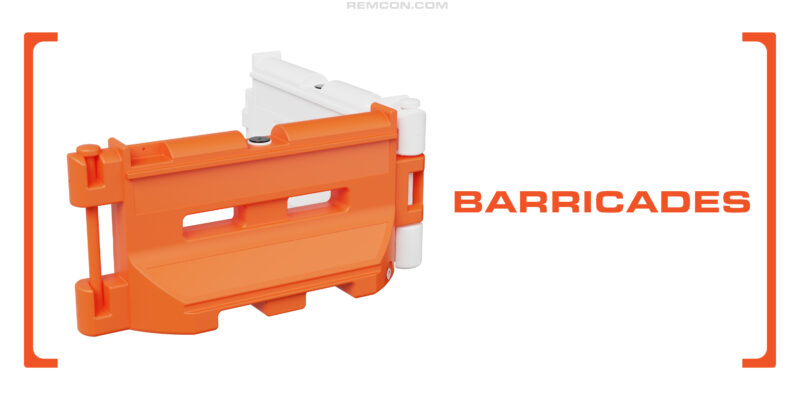
Unlike barriers, barricades are primarily used to inform and guide drivers, channeling traffic away from active work zones. These lightweight devices, such as traffic drums and Type I barricades (commonly recognized as “sawhorses”), are designed to be non-threatening to vehicles in case of accidental impact. Typically, they feature white or orange colors with reflective materials to enhance visibility at night, making them effective channelizers in low-speed areas.
The Evolution of the Longitudinal Channelizer
In the 1990s, the industry witnessed the introduction of hollow plastic barriers, mimicking the look of traditional concrete barriers. However, testing quickly revealed that plastic barriers, even when filled with water, did not provide the necessary protection due to their lower weight and lack of strength compared to concrete. To meet safety standards, manufacturers began reinforcing these plastic barriers with steel—either internally with steel cables or externally with an exoskeleton. While this innovation passed safety tests, it introduced new challenges, such as increased deflection during impacts, requiring greater spacing from the work zone, which is often impractical.
Despite these limitations, the imposing appearance of plastic barriers proved highly effective in channeling traffic, leading to their evolution into what we now know as longitudinal channelizers. These devices are now widely used in various scenarios, from parking lots and pedestrian management to site security, often enhanced with chain link fencing for additional protection.
Conclusion
As the traffic control industry continues to evolve, the need for clear distinctions between barriers and barricades remains crucial for ensuring safety in work zones. Whether it’s protecting road workers or guiding drivers through complex construction areas, understanding the purpose and proper use of these devices is key. The development of longitudinal channelizers highlights the industry’s commitment to innovation, finding new ways to balance safety, practicality, and effectiveness in an ever-changing landscape. By staying informed about these advancements, both industry professionals and the general public can contribute to safer and more efficient roadways.


